Sunday, October 21, 2012

One Year Anniversary!!!

On Oct 20 2011, I started this blog because I was planning on renovating me old farmhouse and I thought it would be an excellent way to timeline the project. I almost didn't do a blog because I am not much of a writer and I didn't think I would have anything to say. (Even though I am quite a talker in real life), Then I decided that I was blogging for me and the documentation of my house and if anyone was kind enough to read it and comment then that would be a bonus. So thank you for reading my blog. I hope you enjoy it. The good news is, my house has a lot more work so there should be YEARS of blogging.

Here are the highlights of the first year:

October 20, 2011- Decided to renovate the farmhouse one room at a time.That really turned out to be a joke looking back! Once you start, it spreads like a disease.

November 4, 2011- I started tool buying and here is where my little "Made in the USA" bubble was burst. I do love power tools and I probably should fear them more than I do. Look at this list:

Here is the power tools I have:
  • Craftsman table saw
  • Skil circular saw
  • Black and Decker cordless drill with 2 batteries
  • Portable air compressor
Here is my wish list so far
  • Makita 12" Dual Slider Miter Saw (LS1216L)
  • DEWALT 10 Amp Reciprocating Saw (DW304PK)
  • Paslode Cordless 16 Gauge Finish Nailer (900600)
  • Paslode Framing Nailer (cordless)
  • Hand held Router- (???)
  • Dremal (4000-6)

UPDATE as of October 20, 2012 I have all of these EXCEPT the router. Do do have a Dewalt table saw and Makita cordless driver drill with the quick charge batteries. So wow! I am doing good in the tool category. 


And while I have always been "handy" with this project I have learned some specific skills like:

Tearing out an exterior wall


Refaming the wall you just tore out


Putting in windows


Made some furniture


I don't know if demo is counted as a skill set but it should


Put in floor joist and subfloor


Frame up an interior wall


Sweated in some copper and did some plumbing


Did some electrical......and more electrical......... and more elecrical


Insulated


Drywalled......Taped.............and Mudded~


So as you can see, I have NOT finished one thing in the past year, except some goat houses, a chicken roost and some furniture. Not one major thing finished but I am making progress and this project has become a mild obsession for me. I don't know when I will finish, all I know is that I will and for now I am happy with the progress that I am making. 

Saturday, October 13, 2012

Window Extravaganza!!!! (Part 1)

If you are wondering why the laundry room is not done, well, I am wondering the same thing!

It is starting to get cold here in the Midwest and I have made up my mind that I am going to put in all the windows that I have bought on sale at Menards this summer.  I already put in 2 of them when I redid the exterior wall of the laundry room.  I ONLY had 6 more to put in before winter gets here! So here is some random pics from me working on the windows. I did get all of them in and I must say that it is really nice having windows that actually open and close and have screens! Now for the best part......... I have NO after pics.


Here is one of my bedroom windows. Yes...... that is a half of shutter and I am working in the dark.


When I am doing framing I GLUE EVERYTHING!!!!!!


Here is 1 window in!!!!! It was smaller than the original. The original would have been a custom size that I DID NOT want to pay custom price for


Demoing the Living room double window.


Looking out the demo-ed window. If you look close you can see the goats are standing on the outside of the barn, peacocks on the hitching post and chickens by the horse trailer.


A view from the outside!


MORE GLUE!!!!!!


My helper Gracie!


A view looking out the front demo-ed window! I LOVE living on a farm!


So even though the laundry room sits waiting for me to finish it, I have been busy. I will get back to it in a couple weeks!

Monday, September 24, 2012

Laundry Room.......before and STILL during.......making progress!


October is right around the corner and that will the one year mark since I have started the laundry room project. I am just starting to mud and tape the room but I can see the light at the end of the tunnel.  I am hoping in 2 weeks to be putting in the tile floor. In the meantime I put together a little progress report. All these pics were taken from the same point of view.


I WILL BE DOING LAUNDRY IN HERE IN 30 DAYS AND NOT MY DINING ROOM!!!

Wednesday, August 22, 2012

Before and During Pics. Plus a Little About Electric.

The laundry room is coming along. One of the major hold ups is me trying to figure out the electrical. I am just starting to grasp the overall concept of wiring in addition to re-wiring a whole house. I know that I am in the very beginning of my training here but oh the possibilities! Like more than one outlet per room! Exterior outlets!  Exterior Lighting! The list goes on and on! And my house not burning down due to bad wiring that is in it now. I have been content to live in my house without thinking too much about the electric until this renovation but now I can't ignore the obvious any longer. Here are some pictures from the past weekend:


Old light switches 


Hummmmm......... does this look safe?


Laundry room (Mudroom) before


Old exterior door and former basement steps go to the left


No more door or steps! And you can see the new linen closet in the back ground.


New windows and framed up exterior door. 


I REALLY LOVE PUTTING IN INSULATION! WOW!!! WAS THAT EVER FUN!


So as you can see, I haven't been just sitting around eating bon-bon's and watching soap operas. Hopefully I can get drywall up this weekend. What a glorious day that will be!

Thursday, August 16, 2012

A Quandary in the Laundry

I am at the point where I get to start picking out some of the "fun" stuff for the house. You would think that I would excited be here but it has proven to be more challenging than I had expected. I have been out looking at interior doors and I was amazed at how many styles that there are to choose from! My decision was an easy one since I have a fondness for Mission (also called Shaker or Craftsman) style of furniture so I already planned on incorporating that in the style in the house as a whole. I had a few rules when it came to picking out doors.

1) NO HOLLOW DOORS! I didn't care if they were solid wood or a MDF product but NO HOLLOW DOORS. (you can insert an image of me with my fist clenched screaming to the heavens and NO HOLLOW DOORS like a scene from Mommy Dearest.

2) NO RAISED PANELS! I am pretty sure I hate raised panels as much at Joan Crawford hated wire hangers.

So here is the interior door that I am going to use through out the whole house:


And yes, I am having white doors and white trim in my house. I love these doors. Simple and stylish. You can find this door at all 3 of the big box stores and all are Made in the USA. Easy Peasey Lemon Squeezy. So I put a full linen closet in the laundry room or I should say that during the demo we "discovered" a closet behind the walls. I now need a door for that closet. I am also not a fan of bi-fold doors but I thought I should at least I should check into it. Sure enough they make a matching bi-fold door for the price of.........$450.00. Yes........ $450.00!!!  You have got to be kidding me! Un-Effing-Believable! That is a "custom" door from the millworks at all 3 big box stores. But then I get on the internet and find at The Big Orange store"


JELD-WEN 30 in. x 80 in. Molded Composite Prepaint Brilliant White 3-Panel Craftsman Smooth Interior Door Slab

Model # O85676

Internet # 203403287
$222.48 /EA-Each (+ $55.00 for Shipping for a total of $277.48) 


I believe that I could make this work. I am sure of it. It is an option. Not my favorite option. Then I was reading one of my favorite bloggers, Sandra, from Sawdust and Paper Scraps and see this:


Click on the picture to see the "how-to" on this door at the Accent Piece!


Hell Yes!!! This Rocks!!!

I LOVE THE BARN DOOR TRACK!!!


But this was a guest post on Sandra's Blog. You can the the creator of this beautiful door over at The Accent Piece. Suzy and her blog is now on my favorites list. Of course the door I would use would be a white Mission style door like pictured above.

Thanks to Sandra and Suzy for you inspiration!


Sunday, August 12, 2012

Doing some serious sweating and not because of the heatwave.

The laundry room project is moving along like molasses in January. It has consumed my life. Not the laundry room specifically but the house renovation in general. I always thought I was handy but this has taken things to a whole different level. I was a "re-placer" I could replace anything that was pre-existing,  Like faucets, receptacles, switches and fixtures. But now I and the "originator" and it requires a pretty big learning curve. So here is my lesson in plumbing.

PLUMBING 101

The first thing I needed to do is get water from the basement up to the first floor. Lucky for me there is the internet. Thanks to YouTube I think I can do anything! So here is my first stab at sweating copper pipes.


1) You go out and but a handy dandy kit like this. It had a propane torch, solder, flux and ................


DIRECTIONS! See? 5 EASY STEPS TO SOLDER A COPPER FITTING! WOW!!!!
(Directions are merely somebody else's opinion on how to do the job)


2) You buy a shut off box like this and you mount it in your frame work. Still easy!

NOTE: GO SHUT THE MAIN OFF NOW BEFORE YOU GO ANY FURTHER!


3) Then you start putting it all together!!!


 4) A view from the basement. Here are the first 4 elbows I soldered. The joist you see is the one I caught momentarily on fire. On the left is the 10" sill joist that I was too lazy to drill through.


A nice long stretch....................................................................................................................


Going around another corner and down the wall.


Connecting in the main lines! I was feeling pretty good at this point!


Here is the drain and the water lines. Nice, huh?


Looky at my wire coat hanger used as a support. Classy.


Everything went pretty well except when I cut the lines they still had water in them. YOU CANNOT SOLDER COPPER WITH WATER IN THEM. So I used an old plumber trick- I got out as much water as I could and then I rolled up some white bread and shoved it down the lines. I am here to tell you that it really works! 

Then you go over to the main shut off.................close your eyes.........................hold your breath...............and turn on the water and pray like hell.


No leaks! Success! 

Monday, August 6, 2012

Putting the laundry room back together

Demo is just about done and I am starting to put laundry room put back together. It is an awesome feeling. I have to admit that I have had some apprehension because of my lack of knowledge along the way but that has not deterred me. Back when I was talking with the Gitter Done boys about renovation my house they were encouraging me to "just build a new house" I think I understand what they were talking about......NOW. So here is what has been happening in the last few weeks during our heat wave 2012:


New Sub Floor Where the Stairs Used To Be!


First of all I have to proclaim my love for Simpson Ties!!!!!!! I have used these to build my work bench that you can see HERE and putting in floor joists.  They are awesome, cheap and durable. A great combo.  You can see how I used them below.


Here is the floor joists and you can see the basement down below


Here is another angle. As you can see you walked down 2 steps to a landing and then went right to the outside. There was a door there but took it out and put in new foundation block and framed in the opening. You would go left to go to the basement but in this picture I have the steps removed. 


When putting in sub floor you got to put down some PL400! The stuff is da bomb! It eliminates squeaks and trust me, your sub floor will never come up. You will be laughing in your grave when the next people remodel your house. 


TA-DA!!!!! Subfloor is coming together!


Building a False Wall Because I am Lazy


On the north wall (which was original exterior wall of the porch that was enclosed)   there is a huge beam that runs the entire length of the house. It is something like 10"x10" and it is NOT what I want to be drilling through. I figured the electrical wouldn't be so bad but trying to drill a 2 1/2 drain would be another story. . Plus I didn't want to compromise the structure of the house.Then there is the issue of that being a planked wall and not studs So I decided to build a false wall to give me something to put the utilities in. I am not sure that this is the way a real contractor would do it but this is the way I seen as a solution to multiple problems.

Here is  a picture of the planked wall. It is an inch thick with that 10" beam directly below it. NOTICE: The wall on the left is a part of the oldest house. It is actually hand sawed I will try to get better pictures of this before I close it up. It is quite interesting. The newer house on the right is still hand sawed but it has a much smoother finish.


Here is the a picture of the false wall framed up in front of the former exterior planked wall. Please take note of the tape measure hanging from the top plate:


I was lining up the studs with the ceiling which has joists 16" on center. WOW! How easy is this going to be?    
Well I guess I should paid better attention because the ceiling joist's are ACTUAL 2x4's and I off some where and my last 4 studs were slanted. As you can see below. I am sure this falls under the "measure twice - cut once" rule. 


My mom was out visiting when I discovered the fiasco. Here is how that conversation went:

ME: Shit! These studs are off!!!

MOM: Oh just a little bit.(trying to be nice)

ME: A little bit? They are an inch off from the top to the bottom!!!!!

MOM: Well aren't you going to have drywall in front of the it? Nobody will be able to see it.And it is just a false wall and not a structural issue.

ME: Yeah, but I will know. (insert a lot of curse words here) How could I have messed up so (insert more curse words here) bad???  (((MORE CURSING))) I AM NOT REDOING THAT WALL!!! 

My mom left and I fixed the wall. After all......... I would know.


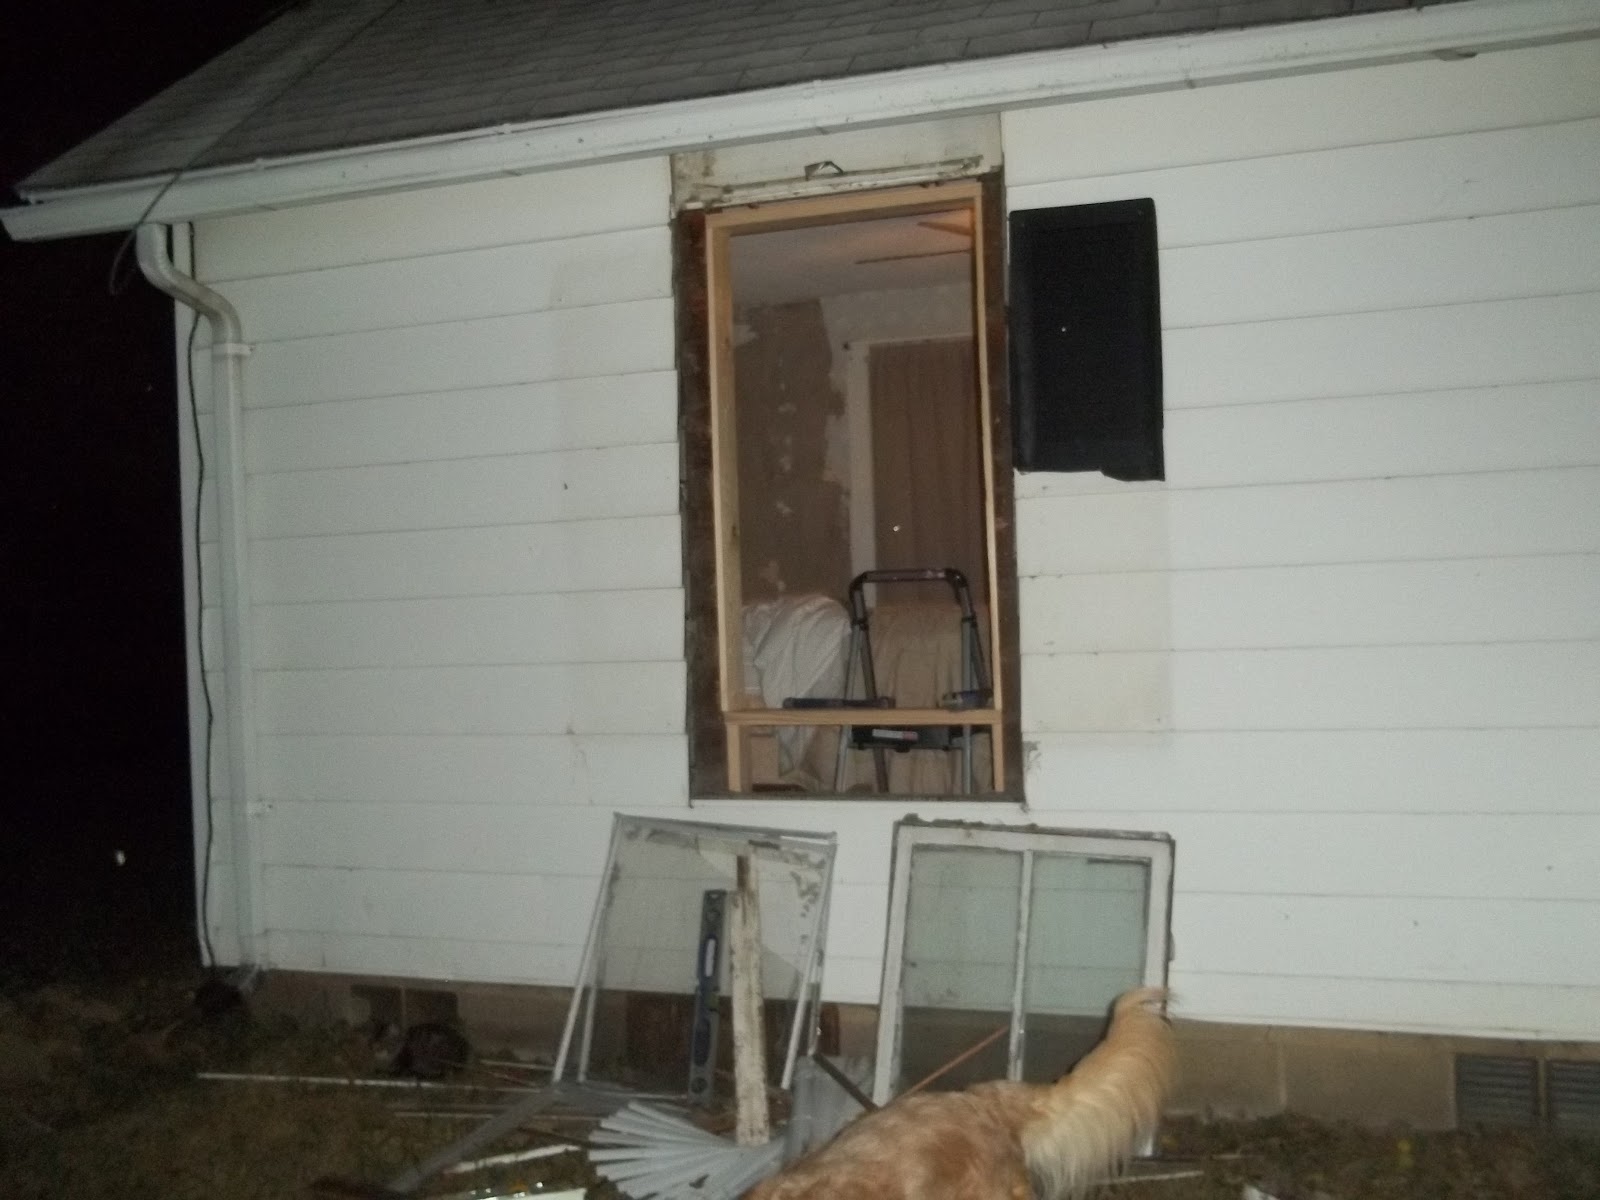
Here is my Great Pyrenees Merlin carving out a spot in the middle of the renovation.